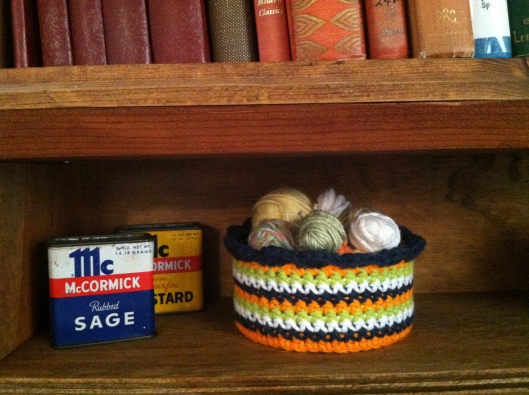
How many times have you discarded, (hopefully recycled) a tuna or chicken tin? If you eat a lot of tuna then probably a lot of them. Hold on to the next one and dress it up a bit. These little things are the best for sorting little whatnots that you have lying around in a cluttered drawer. The tin itself can be used plain as it is or you can make it prettier!
This makes a wonderful craft for you and your children. For yours and your children’s safety, please follow the first six steps completely then have a go at whatever type of decoration you feel inclined to give it.
- Empty the contents of the tin.
- Wash the tin with warm soapy water, rinse and dry.
- Important: Ensure that the cut edge has no hanging pieces of metal. Any remnants of the top of the can from where it was cut off, can cut your fingers and cause serious issues. I would not recommend running your bare finger along the inside rim.
- Take a paper towel, napkin, Q tip, cotton ball or other fiber source and gently wipe along the inside of the rim; going both ways around. If the cotton doesn’t catch anywhere on the can then you have probably removed the hanging edge. For good measure, take a double look anyway.
- If you see any hanging remnants, take your can opener and remove the metal piece or mash it flat.
- *No Pull Top cans as this sharp edge cannot be removed.
- Decorate the tin and have some fun!
I have painted the tin with paints. I have glued cloth material or paper to them. You can wrap them with twine, gluing a little as you go but my favourite way to decorate is with a crocheted tin cover. If working with a small tin then it takes very little yarn and is a great stash buster!
There are very detailed step by step instructions on one of my favourite UK blogs Attic 24 as Lucy shows you exactly how to make one. She is so good about her instructions and always informs the reader / crocheter the difference between her UK stitches and what the US stitch conversion is.
The crochet tin covers are quick to whip together and can be embellished with buttons, beads and flowers. I crocheted a small round disc for the inside of my tin as it is for paperclips and I didn’t want to hear them clanking around every time I placed one in or took one out. It makes a great buffer as well if you are using the can to hold something you don’t want scratched and of course the are wonderful for little stashes of left over yarn!
Any type of metal can may be used as long as it is not a “pull top” can, it just might take a little more medium to cover. I especially like bean cans that have the pretty white enamel coating on the inside.
Make a project of it or just a fun thing to do with the kiddies on a rainy day. I would love to see some of your finished designs!
Pinkie~

